Showing posts with label gigglepotamus. Show all posts

Tuesday, July 21, 2009

Collaged House Tiles

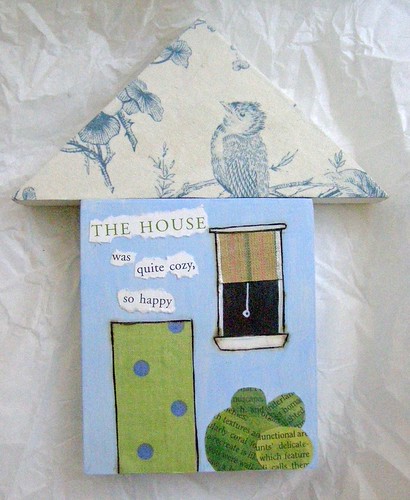
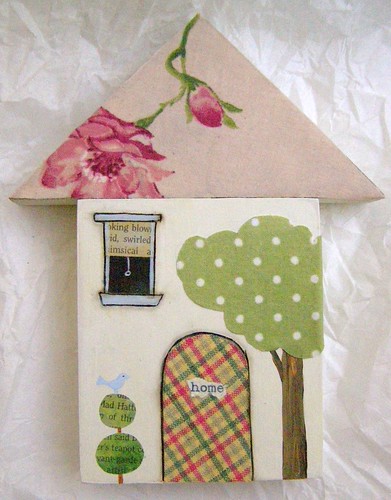
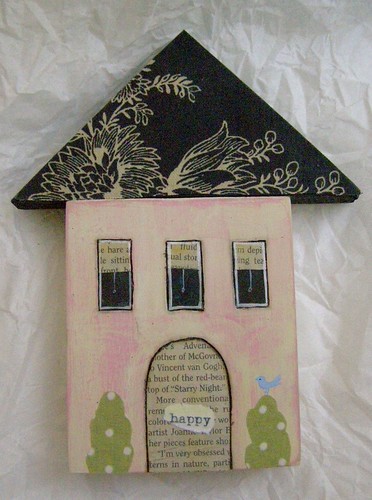
These are some new pieces I've been working on to sell at my upcoming fall shows. Currently, they're about 5"x8", but I'll be making them in smaller sizes as well. I've been struggling a lot with getting some quality shots of them, but this is what I have for now. They are painted and burned recycled wood scraps with paper & fabric:


Tuesday, June 16, 2009

Lemon Love Cake

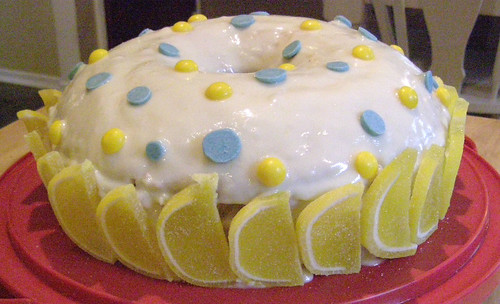
My middle son turned three this weekend, and here is the cake I made:


It was not without blood, sweat, and a whole lot of tears! Basically, it is a lemon pound cake that has been hollowed out on the inside & filled with cream, then glazed and decorated with homemade white chocolate polka dots (colored blue) and yellow skittles. The tears came after I finished it and tried to move it-- the whole thing fell apart! It was a complete train wreck, in at least four different pieces, not to mention the top had completely fallen off. I somehow managed to squish it all back together and cover up the rest of the carnage with candy lemon slices. No one was the wiser, and it tasted pretty good, too!

Tuesday, June 2, 2009

New Bag!

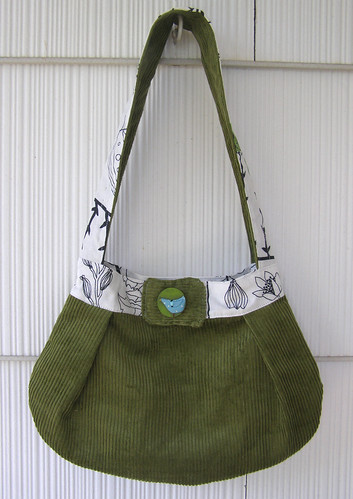
Oh.... sorry, didn't mean to be gone for that long! Here's a little bag I put together this weekend for a dear friend's birthday present:


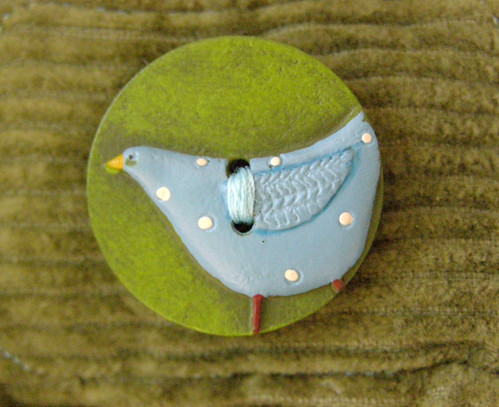
She actually gave me these cute little buttons, so I decided to return the favor and use one on her bag:

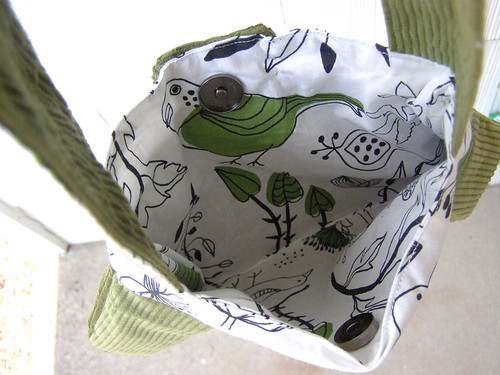
It's hard to tell from the first picture, but the lining fabric has cute little line drawings of birds & plants, etc.:


Tuesday, March 31, 2009

Pillow Cover- WIP

I'm a little disappointed that I didn't check this week's theme a little sooner... I've had this sail boat idea kicking around for a while... oh well, maybe I'll just be a week behind for next time!


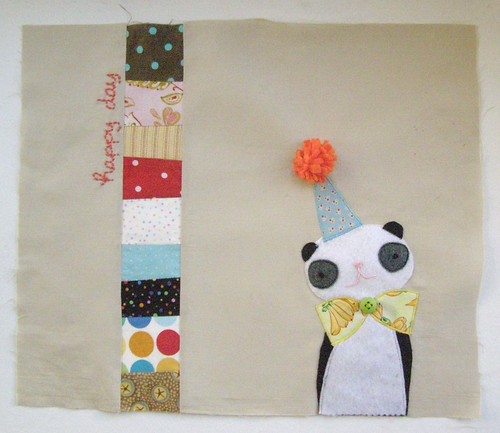
Anyway, I have some new ideas that I'd like to try this year, and one of them includes some new designs for pillows and wall art. Here is a pillow cover in progress:


Sorry for the poor photo quality. And I did learn why we use embroidery hoops! (I tried without one & it's a little bumpy). The backside will be an envelope closure in a fun print. I'm not sure how I feel about the design yet. I guess I'm still experimenting. Any suggestions/feedback?

Tuesday, March 17, 2009

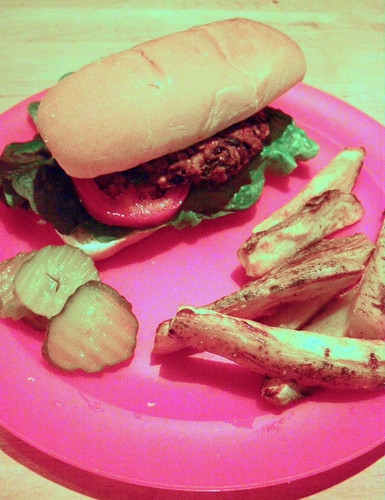
Week Two- Veggie Burgers


I have been doing a lot of cooking this past week, so much that I really haven’t gotten much craft time. But I am very excited to share this recipe for homemade veggie burgers. They get my 5 smear rating. Ok, that didn’t sound so good-- let me ‘splain: Basically, the better the recipe, the more messed up my recipe card gets with ingredients while I‘m preparing it (I‘m a messy cook), hence, the smear rating. Anyway, if you’re a fan of the store bought variety of veggie burgers, I think these are MUCH better, not very complicated to put together, healthy, and delicious (my 2 year old even eats them!). Plus, when you add it all up, they end up costing something like $.25 per burger, which makes them healthy for your wallet as well.


INGREDIENTS:


1 (16 oz.) can black beans, drained and rinsed
½ green or red bell pepper, cut into wedges
½ onion, cut into wedges
3 cloves garlic, peeled
1 egg
1 tbsp. chili powder
1 tbsp. cumin
1 tsp. Thai chili sauce or hot sauce
½ cup bread crumbs *


DIRECTIONS:


  1. Preheat oven to 375 degrees and lightly oil a baking sheet.


  2. In a medium bowl, mash black beans with a fork, until thick and pasty.


  3. In a food processor, finely chop bell pepper, onion, and garlic, then stir into bean mash.


  4. In a small bowl, stir together egg, chili powder, cumin, and chili sauce.


  5. Stir the egg mixture into the mashed beans. Mix in bread crumbs until the mixture is sticky and holds together. Divide into four patties.


  6. Place patties on baking sheet, and bake about 10 minutes each side. **


* I used quick oats instead.
** In my oven, 13 minutes each side worked better. They might seem to stick a little at first, but once you flip them, they should firm up & be fine.


Mine seemed to need to stay in the oven longer to “set up”, but did seem a little dry- they were fine, though if served with some kind of sauce: salad dressing, ketchup, etc. Also, I felt like they could’ve used a little salt, but other than that- delicious! Bon Appetit!